Securing the safety and well-being of the horses is one of the most important duties of every equestrian. This responsibility extends beyond primary care to include proper nutrition, regular exercise, and attentive medical attention. But if there is one easy yet effective step in securing your equine’s well-being, it is by maintaining the cleanliness of their trailer.
In addition to preserving the trailer's durability, frequent cleaning of the trailer is essential to prevent the accumulation of dirt, bacteria, and mould, which can jeopardise your horses’ health. Nonetheless, it is crucial to follow specific steps to ensure the trailer remains spotless and hygienic.
Below are some pointers to assist you in maintaining a clean and well-kept horse trailer:
Step 1: Gather Your Supplies
Before you start cleaning your horse trailer, it is important that you have all the necessary tools. This helps in making sure that you can efficiently and successfully remove all dirt and grime from every corner of the trailer.
In cleaning the trailer, you will need the following:
- Broom and Dustpan: Used to sweep out loose dirt and debris.
- Shovel: Ideal for removing larger debris and manure.
- Hose with High-Pressure Nozzle: Essential for washing down both the interior and exterior.
- Buckets: Necessary for mixing cleaning solutions.
- Scrub Brushes: Various sizes for different surfaces and corners.
- Mild Detergent or Horse-Safe Cleaner: Ensures surfaces are cleaned without harsh chemicals.
- Disinfectant: Helps kill bacteria and prevent mould growth.
- Squeegee or Wet/Dry Vacuum: Useful for removing excess water.
- Protective Gear: Includes gloves, masks, and eye protection for safety.
Step 2: Remove All Bedding and Equipment
Removing bedding and equipment when cleaning a horse trailer ensures thorough cleaning of all surfaces, preventing dirt, bacteria, and odours from accumulating. It allows for better access to corners and crevices, providing a cleaner and healthier environment for the horses during transport.
Step 3: Sweep and Shovel Debris
Horses enjoy moving and grazing on grass, which often soils their hooves. Dirt and debris from their hooves can be transferred inside the trailer as they enter. Additionally, horses may defecate during travel. Therefore, sweeping and shovelling debris and manure before washing the horse float is essential.
This initial cleanup prevents dirt and manure from spreading further. It also ensures that the subsequent washing effectively removes any remaining residue, maintaining a clean and hygienic environment for your horses.
Step 4: Wash the Interior
Once the trailer is cleared of loose debris, proceed to wash it thoroughly by hosing it down. Make sure that the hose you are going to use is equipped with a high-pressure nozzle. This is to ensure that the walls, floors, and ceiling of the trailer are cleaned in every nook and cranny,
The next step is to scrub the surfaces. You can use a mild detergent or horse-safe cleaner and a bucket of water mixture. Using scrub brushes, meticulously clean all surfaces, including walls, floors, and partitions. Pay particular attention to areas with stubborn dirt or stains.
Finally, remove all traces of soap and cleaning solution by rinsing with clean water.
Step 5: Disinfect
Disinfecting horse trailers after washing the interior is crucial to eliminate harmful bacteria, viruses, and fungi that can threaten the health of horses. It prevents the spread of any diseases while maintaining a hygienic environment and ensuring the trailer is safe for future use, promoting the well-being of the animals during transport.
Step 6: Dry Thoroughly
Thoroughly drying horse trailers is vital to prevent mould and mildew growth, which thrive in damp environments. After washing, use a squeegee or wet/dry vacuum to remove excess water from surfaces. Leave doors and windows open to promote air circulation, ensuring all interior areas are completely dry. This helps maintain a clean, hygienic environment and prolongs the trailer's lifespan.
Step 7: Clean Mats and Equipment; Replace When Necessary
Regularly cleaning mats and equipment in your horse trailer is critical to maintaining hygiene and safety. Use a mild detergent and water to scrub mats thoroughly, removing dirt and debris. Similarly, clean equipment such as feed buckets and hay nets should be used to prevent contamination. While cleaning, inspect bedding and equipment for wear and tear. Checking them while doing this procedure will also allow you to see anything that needs to be replaced.
Step 8: Reassemble
After thoroughly cleaning and drying everything, the next step is to reassemble the trailer.
Start by placing the dry mats back in their positions. Return all cleaned tack and equipment to their designated spots. If your trailer uses bedding, add a fresh layer appropriate for your horse’s comfort and safety.
Taking these steps ensures everything is prepared and organised for the next journey with your horses.
Step 9: Clean the Exterior
While it is tempting to focus solely on cleaning the interior, overlooking the exterior of your horse trailer is a mistake. Properly cleaning and maintaining the exterior is equally crucial for ensuring the trailer remains in good condition and functions effectively.
Begin by rinsing the exterior of the trailer with a hose to take off loose dirt and debris. Then, wash the trailer using a specialised wash solution and a sponge or brush, focusing on areas prone to dirt accumulation, like wheel wells and lower sections. Thoroughly rinse off all soap and cleaner and dry the trailer with a clean towel. You may also allow it to air dry to prevent water spots and streaks.
Step 10: Inspect
While cleaning, use the opportunity to inspect your trailer for any possible maintenance issues that need your urgent attention. Some of them include:
- Rust and Corrosion: Inspect the undercarriage and joints for rust spots; address promptly to prevent further damage.
- Tyres: Check tyre pressure and examine for wear or damage.
- Lights and Brakes: Ensure all lights are operational and test the functionality of the brakes.
- Hinges and Latches: Apply lubricant to moving parts to maintain smooth operation.
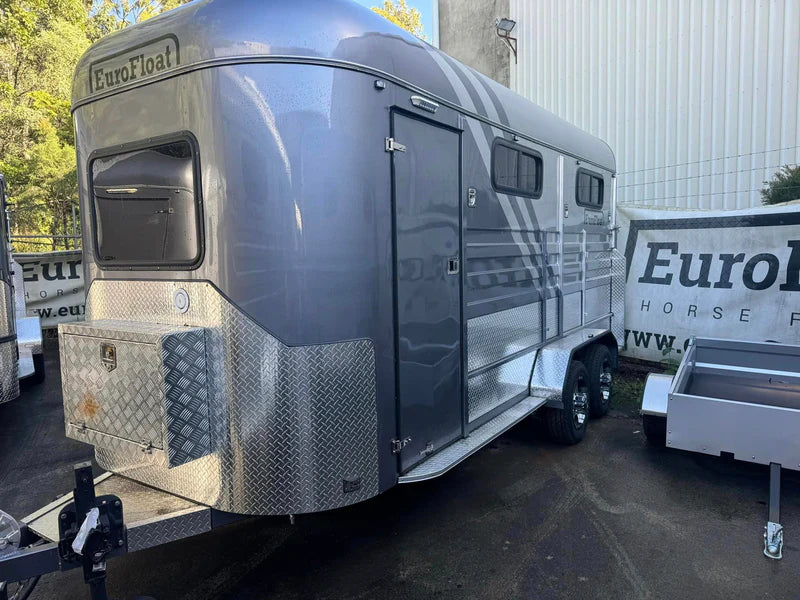
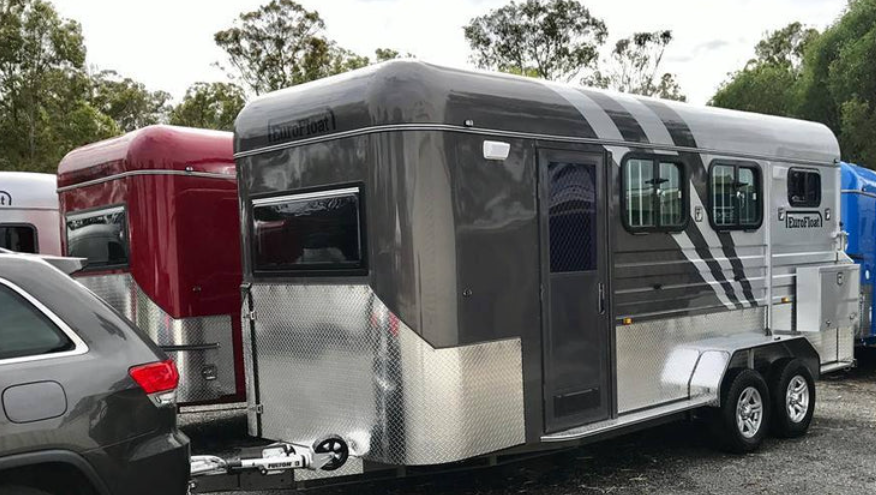
Shop for the Best Horse Trailer
While there are additional steps you can take on your own, this comprehensive guide provides fundamental care for your horse trailer. But apart from following these tips, remember that choosing a quality horse trailer should be your top priority.
Find a dealer that guarantees quality products, such as Euro Horse Shop. As Euro Float's master dealer, we ensure all our equestrian products meet high standards and are competitively priced, making them accessible without exceeding your budget. Explore our offerings at www.eurohorseshop.com.au.

